FAQ
What should you do if the connection fails after an operating system update?
Why can’t I connect to eduroam?
What should you do if you forget your login credentials?
What credentials should I use to access eduroam?
Can I use eduroam outside of Iscte?
In which countries and institutions is eduroam available?
What is eduroam?
Who can use eduroam at Iscte?
Where can I find the “Install Office” option?
PT
Target Audience: Iscte-IUL Community
Answer/Solution:
- Go to https://portal.office.com/account
- In the “Applications and devices” section, select the “Install Office” option
- See the installation instructions on the official Iscte website here » https://informatica.iscte-iul.pt/en/services/software/office-365/
Additional Information:
How do I find the IP address of a Windows computer?
Target Audience: Iscte Community
Answer/Solution:
- Select the Ethernet Network icon > and then the Ethernet network connection (in this example, contoso.com).
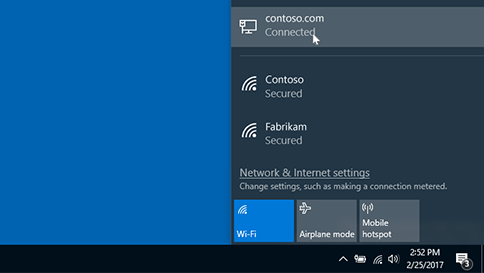
- Select the network connection “Ethernet“.
- In Properties, look for the IP address listed next to IPv4 Address.
Further Information:
- Click here
How to Access Filesender?
Público Alvo: Iscte Community
Answer/Solution:
- Open a browser (Chrome, Firefox, Edge, Safari, Opera…)
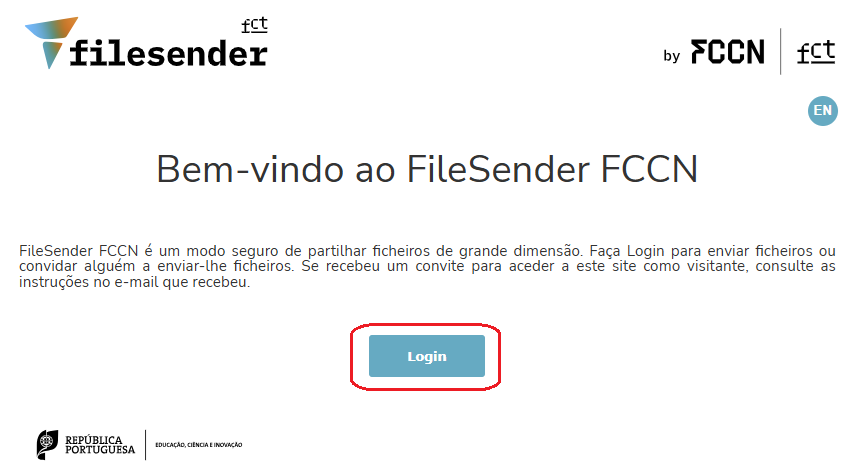
- Go to https://filesender.fccn.pp/.
- Click Login.
- Search and select Iscte.
- Log in with Iscte credential (e.g., xxnes@iscte-iul.pt and password).
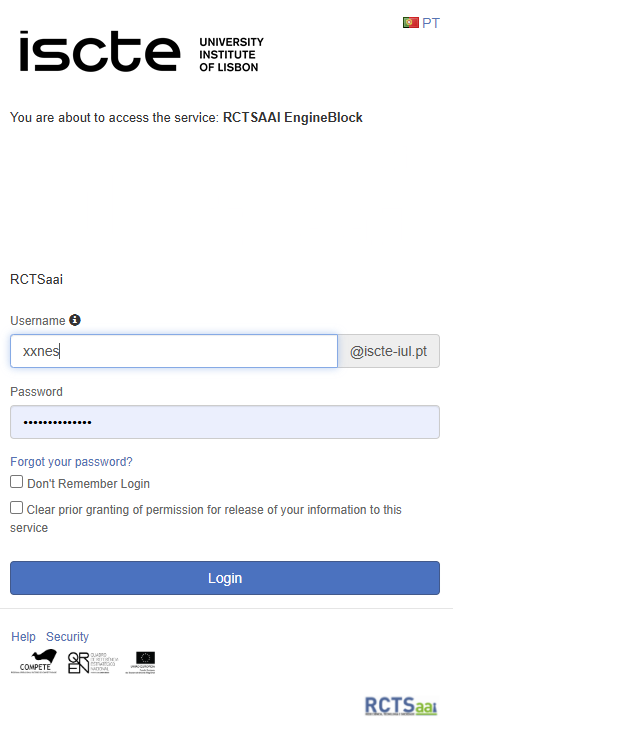
- Click Login.
How to Send a File Using Filesender?
Target Audience: Comunidade Iscte-IUL
Answer/Solution:
- Open a browser (Chrome, Firefox, Edge, Safari, Opera…)
- Go to https://filesender.fccn.pp/.
- Click Login.
- Search and select Iscte.
- Log in with Iscte credential (e.g., xxnes@iscte-iul.pt and password).
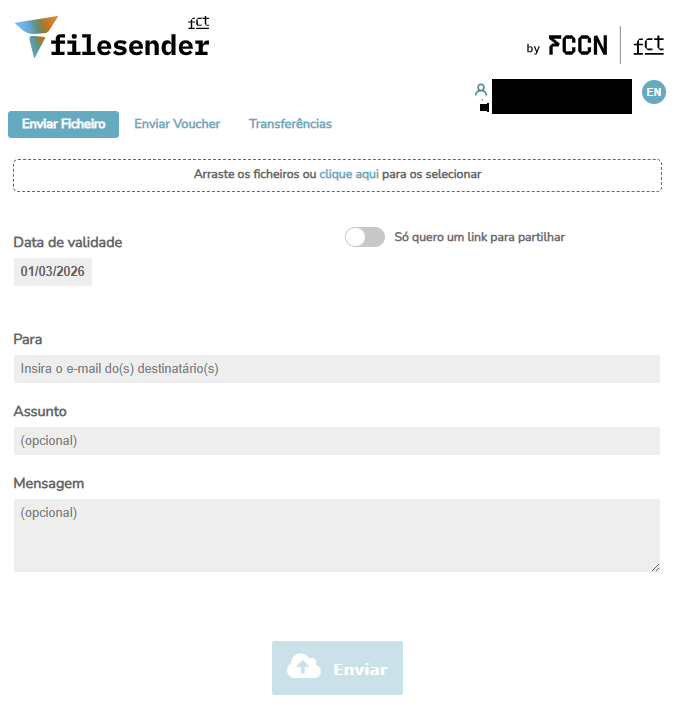
- Click Login. The first time you use this feature, accept the terms of use.
- Drag and drop or select the file(s).
- Enter the recipient’s email address(es), the subject (optional), and a message (optional).
- Click Send.
I am not receiving the Qualtrics email. What should I check?
Target Audience: Iscte‑IUL community
Answer / Solution: If you are not receiving the Qualtrics email, please check the following:
- Spam / Junk Folder – The email may have been automatically filtered.
- Institutional email address – Make sure it is correct and active.
- Existing Qualtrics account – If you already have another Qualtrics account (e.g., the free version) using the same institutional email address, you may need to use different passwords.
If you still do not receive the email, please contact Qualtrics Support:
🔗 https://www.qualtrics.com/support/ → “Can’t log in or don’t have an account?”
All information about Qualtrics is available here.