Printing and Scanning
Before getting started
1️⃣Printing in Three Steps
2️⃣Installation
Linux - Detailed instructions
- Search for Terminal in the Linux search window.

- Install the “SMB” client, as illustrated in the next two figures.


- Search for “printers” in the Linux search window.

- Click “Add a Printer” and then “Add“.


- Under “New printer“, set as below and click “Next“.

Select device: Choose “Windows Printer via SAMBA“
SMB printers: Type “printsrv-vwx.iul.intra/Iscte-PS“
Authentication: Choose “Set authentication details now”
Password: Write the password of the Iscte account
Username: Write “IUL\username” (ex: IUL\xxnes) Under “Select the driver,” choose “Select the printer from the database.” Under “Brands“, choose the “Ricoh” tag and click “Next“.

Under “Models“, select “IM C3000“; “Drivers“, choose “Ricoh IM C3000 PS (en) (recommended)” and click “Next“..

Under “Installable Options“, configure as below and click “Next“.

Option Tray: Choose “Not installed“
Large capacity tray: Choose “Not installed“
Internal Tray 2: Choose “Not installed“
Internal Shift Tray: Choose “Not installed“
External Tray: Choose “Not installed“
Finisher: Choose “Finisher SR3250“
Folding Unit: Choose “Not installed“
PostScript: Choose “Post Script EmulationUnder “Describe the printer“, name “Iscte-PS“, the description “Ricoh IM C3000“, the location “Self-service” and click “Apply“.

The “Iscte-PS” printer is ready to print.

- Search for Terminal in the Linux search window.
3️⃣Use
How to Print? - Detailed Instructions
-
- Tap the tatil screen to activate the equipment (printer or multifunction) and select the “Follow-You Printing” option.

- Bring the Iscte card closer to the card reader.

- Select the documents you want to print and tap “Imprimir” (Print).

- Log out using the Iscte card or by tapping “End Session“.

- Tap the tatil screen to activate the equipment (printer or multifunction) and select the “Follow-You Printing” option.
How to Scan? - Detailed Instructions
-
- Tap the touch screen to enable multifunction and select one of the following options (“Scan-to-Me” (for scanning documents with few pages) or “Scan-to-email” (to scan documents that exceed the maximum size allowed by email).

or

- Bring the Iscte card closer to the card reader.
- Place the original document feeder, taking into account the orientation.

- Check/change the recipient’s address (pre-populated with the authenticated user’s email).
Scan-to-Me – Add CC/

Digitalizar-para email –Change recipient and add CC/

- Tap “Digitalizar“ (Scan).

- Log out using the Iscte card or by tapping “EncerrSessão“ (End Session).

- Tap the touch screen to enable multifunction and select one of the following options (“Scan-to-Me” (for scanning documents with few pages) or “Scan-to-email” (to scan documents that exceed the maximum size allowed by email).
How to Photocopy? - Detailed Instructions
-
- Tap the touch screen to activate the multifunction and select the “Enable Copier” option.

- Bring the Iscte card closer to the card reader.
- Place the original document feeder, taking into account the orientation.
- Tap “Iniciar“ (Start).
- Log out using the Iscte card or by tapping “EncerrSessão“ (End Session).
- Tap the touch screen to activate the multifunction and select the “Enable Copier” option.
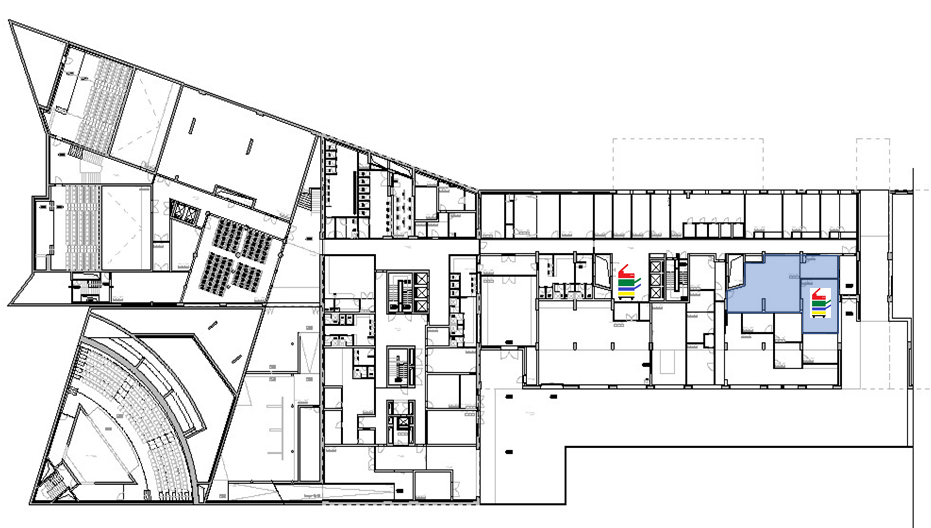
4️⃣Self-service points location
5️⃣User Support
Need help? In this section, you'll find support resources, documentation, troubleshooting guides, and contact channels available to assist you in using Iscte's digital services.
Get technical support, get your questions answered, and find solutions quickly and effectively.